

When an LED screen is damaged, especially one as precise as a P1.9 pitch module, every micron matters. At Vera Multimedia, we specialise in high-precision servicing and diagnostics. Read on to find out how we completely restored a broken LED module using 0.02 mm wire and micro-repair tools, supported by full photographic documentation.
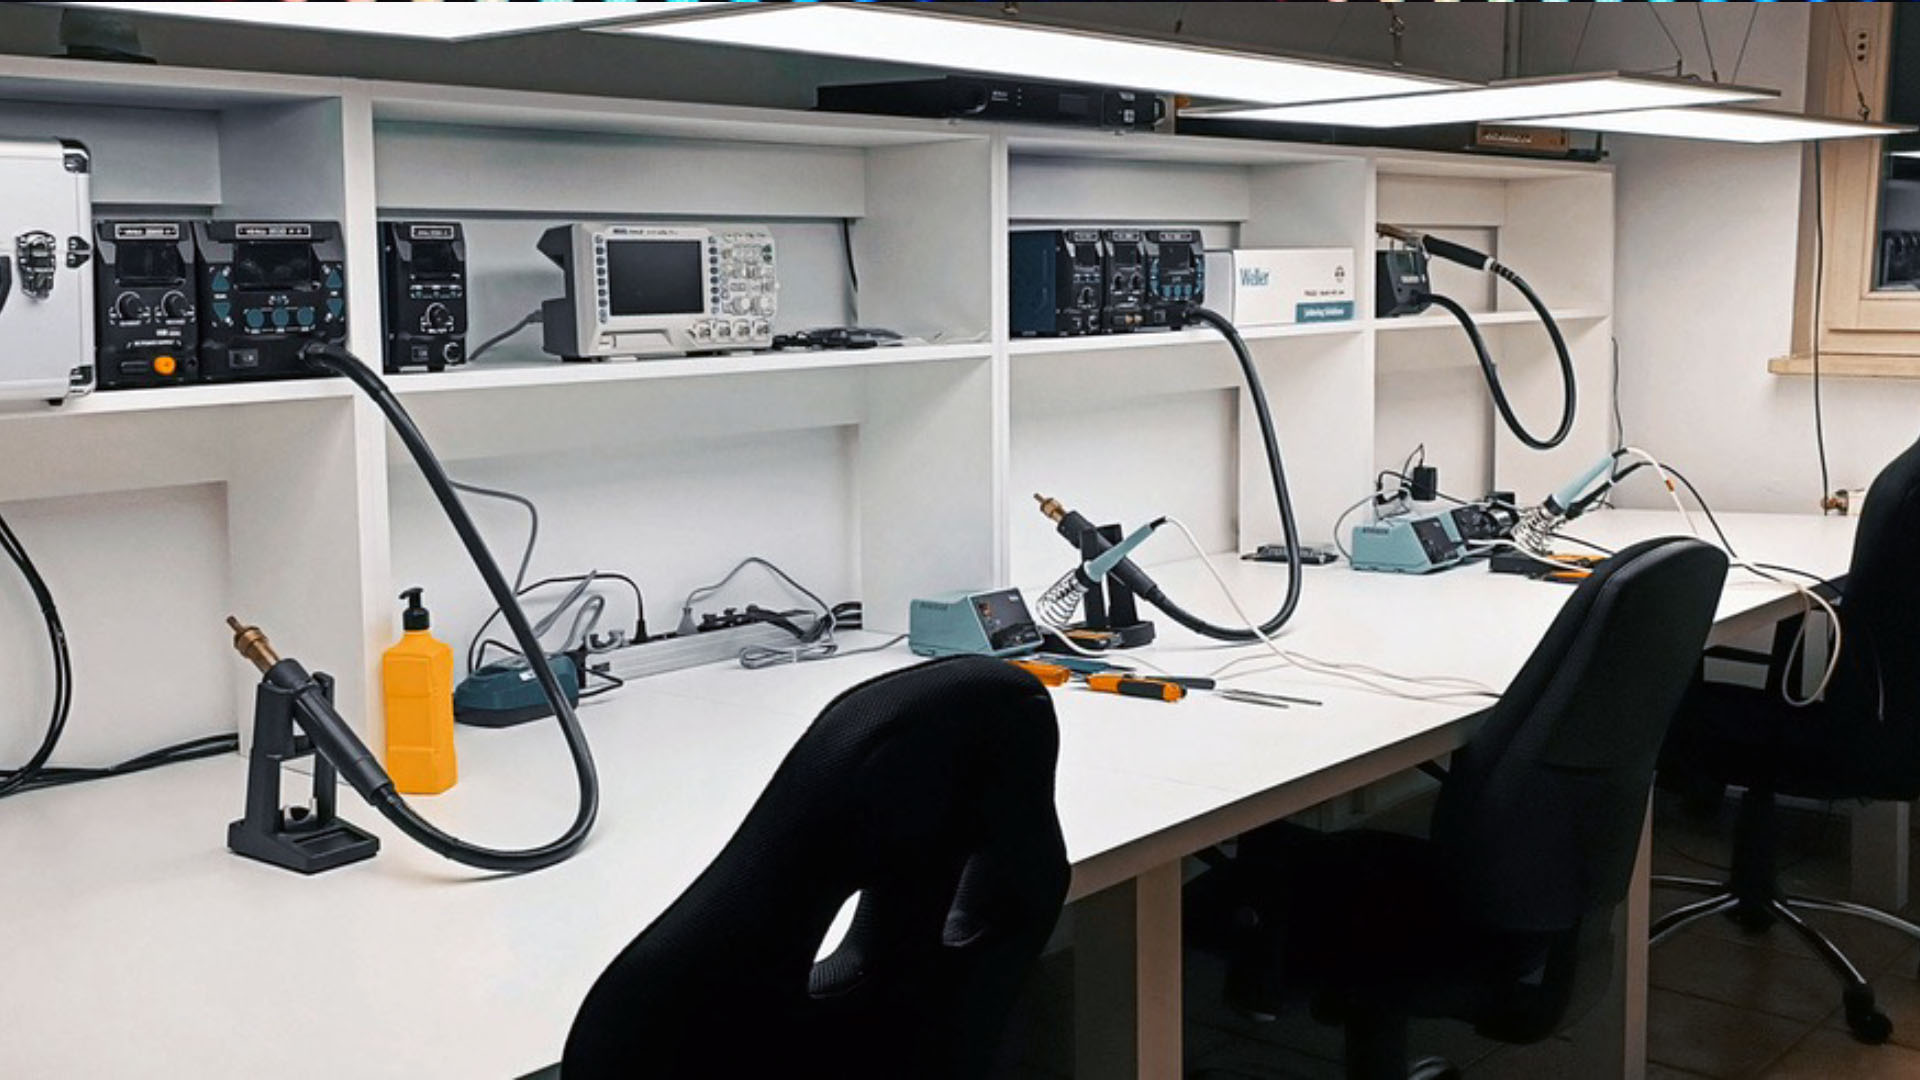
Our in-house LED service stations at Vera Multimedia - fully equipped for precision diagnostics and micro-repair of fine-pitch modules.
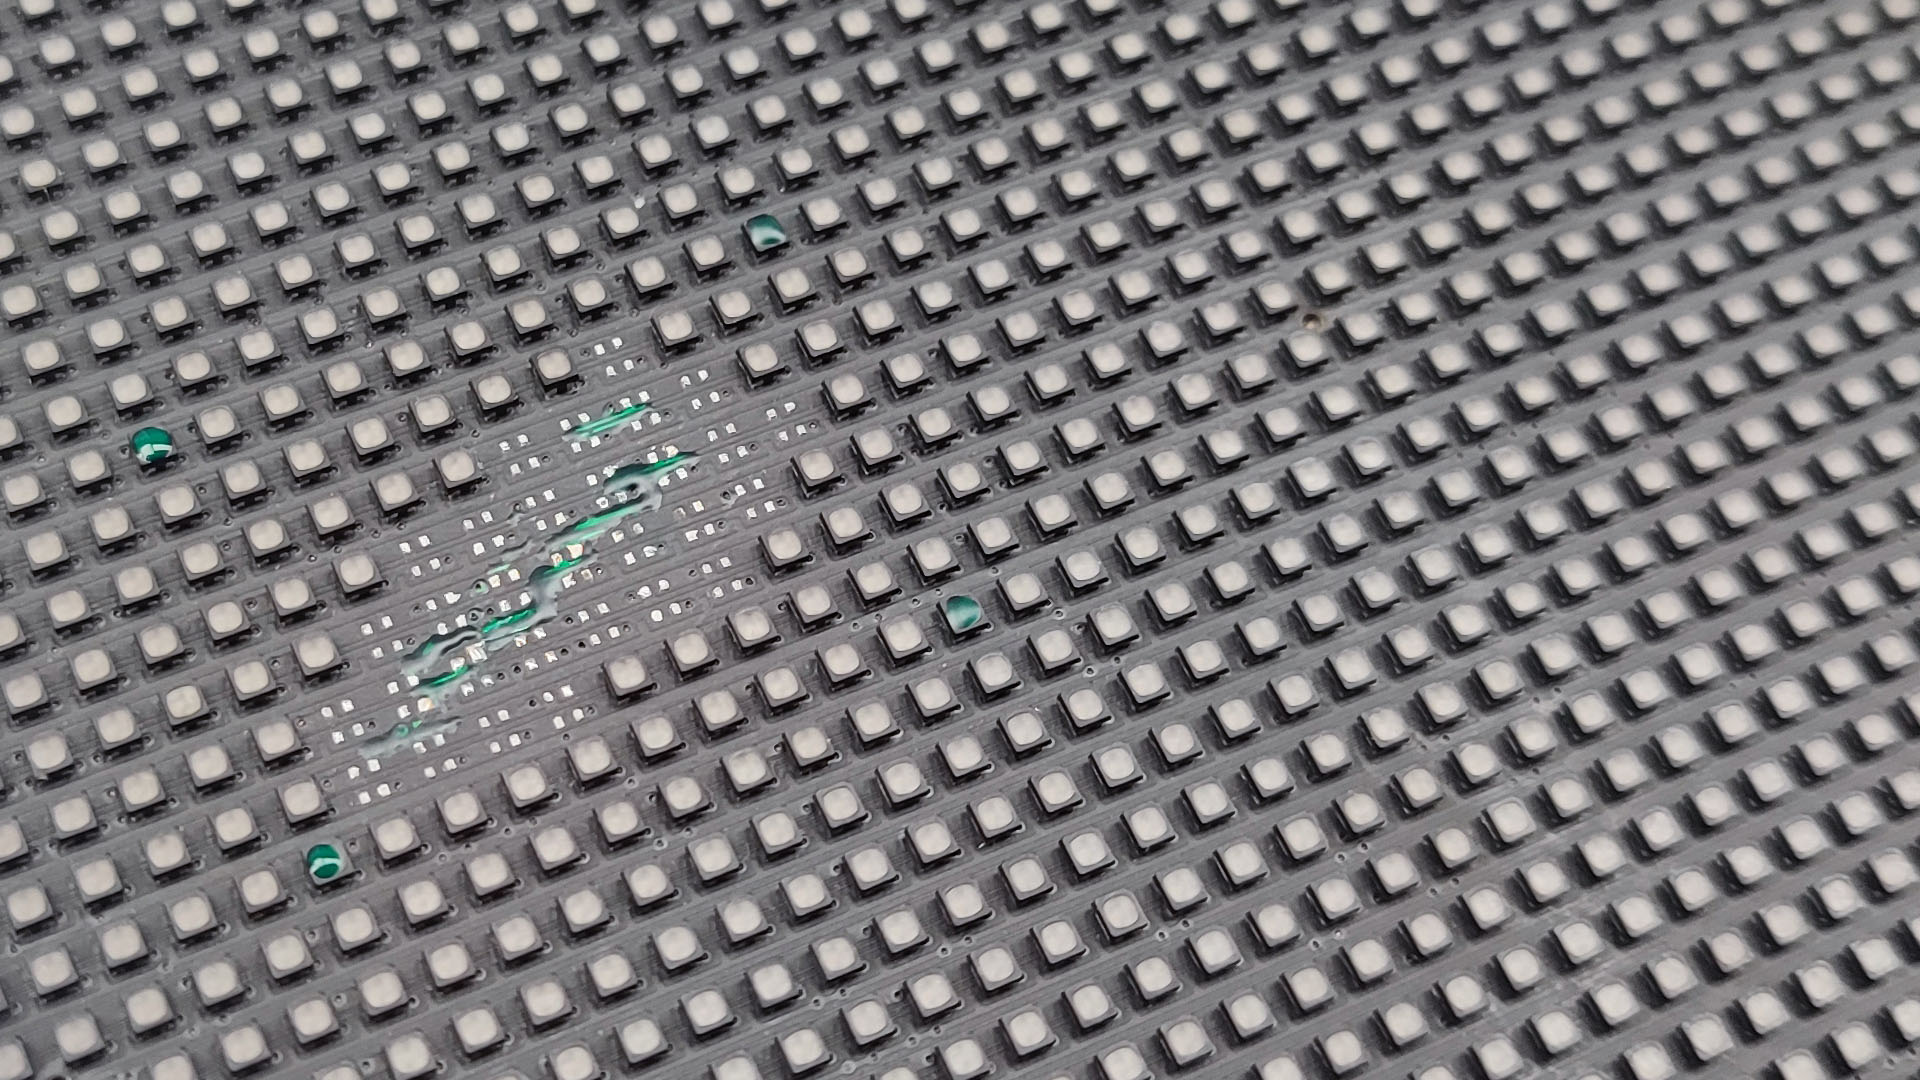
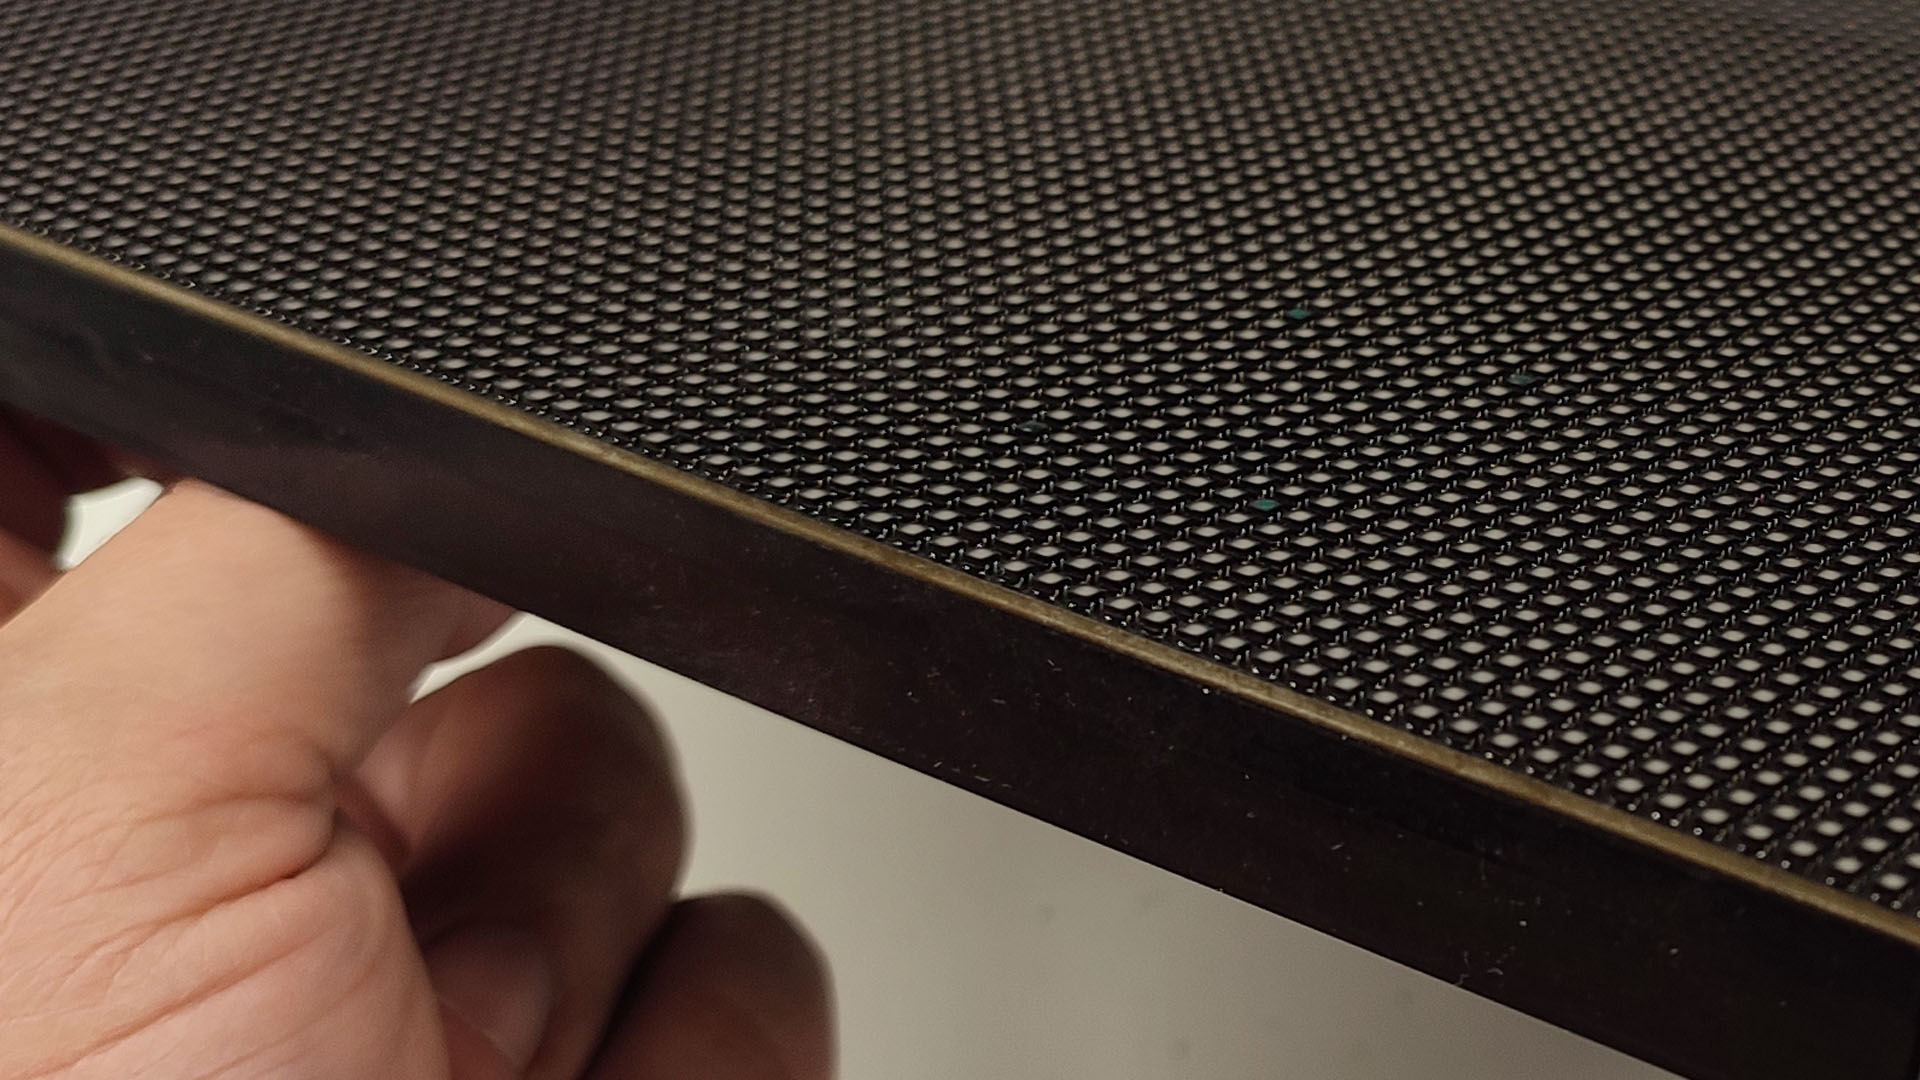
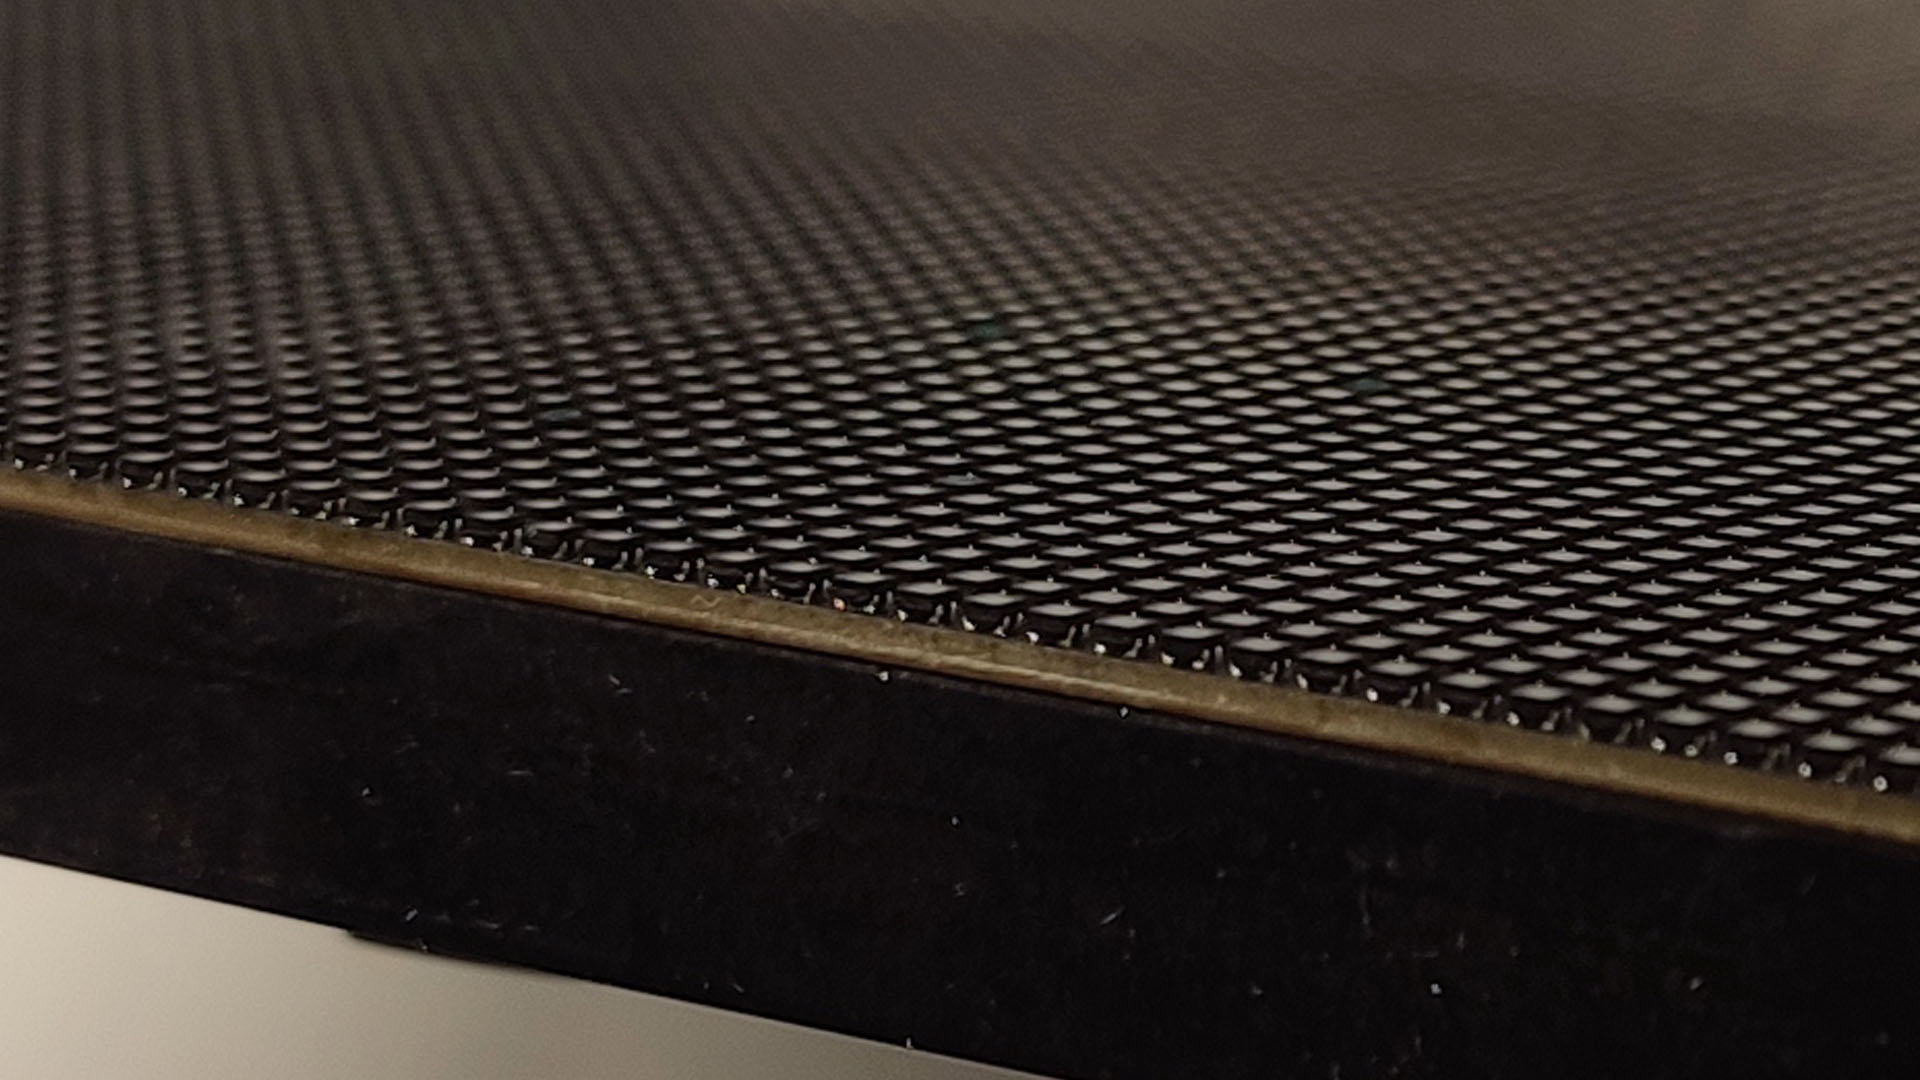
Stage 1: Damage assessment
The first step was a detailed visual inspection to assess the extent of the damage to the LED screen. The panel showed signs of physical impact and localised pixel loss. It is essential to identify the exact zone of malfunction in order to plan further restoration steps effectively.
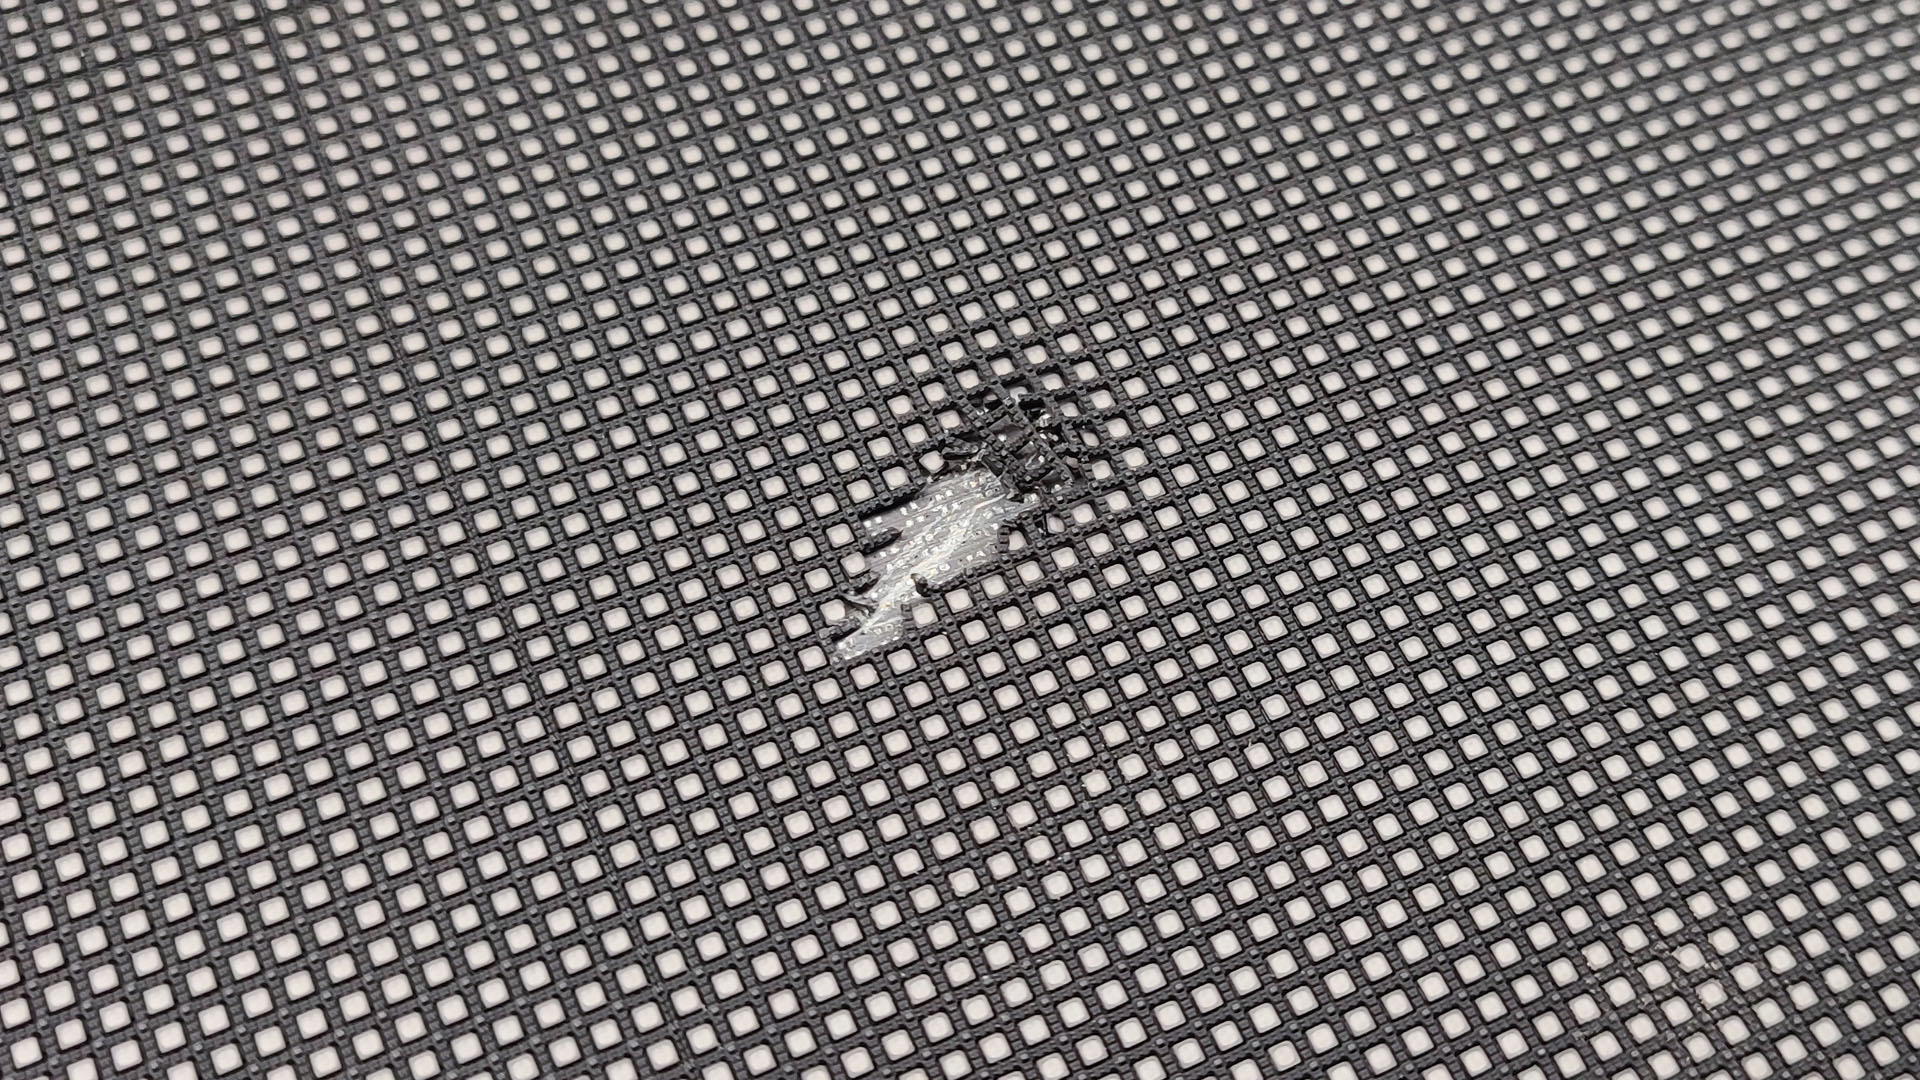
Initial screen inspection revealing the impact area and affected diodes.
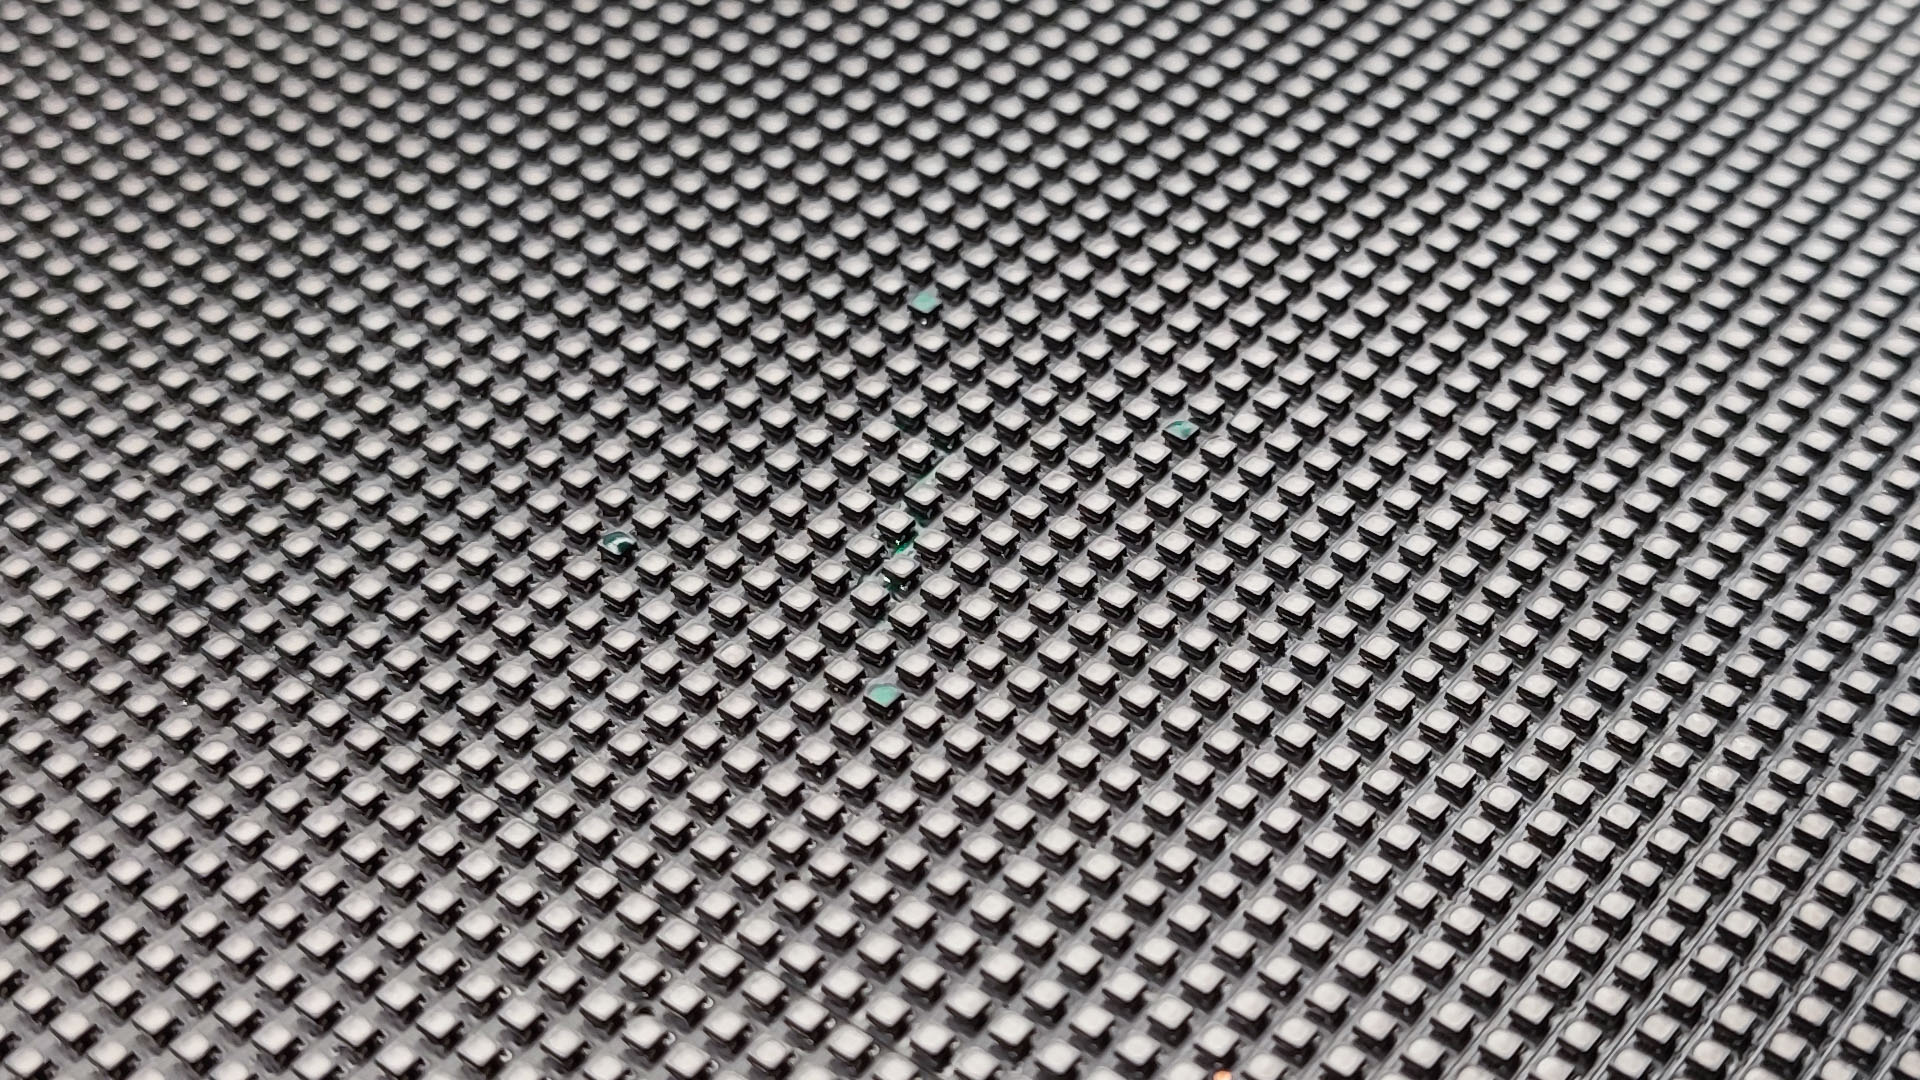
Stage 2: Cleanup and close-up
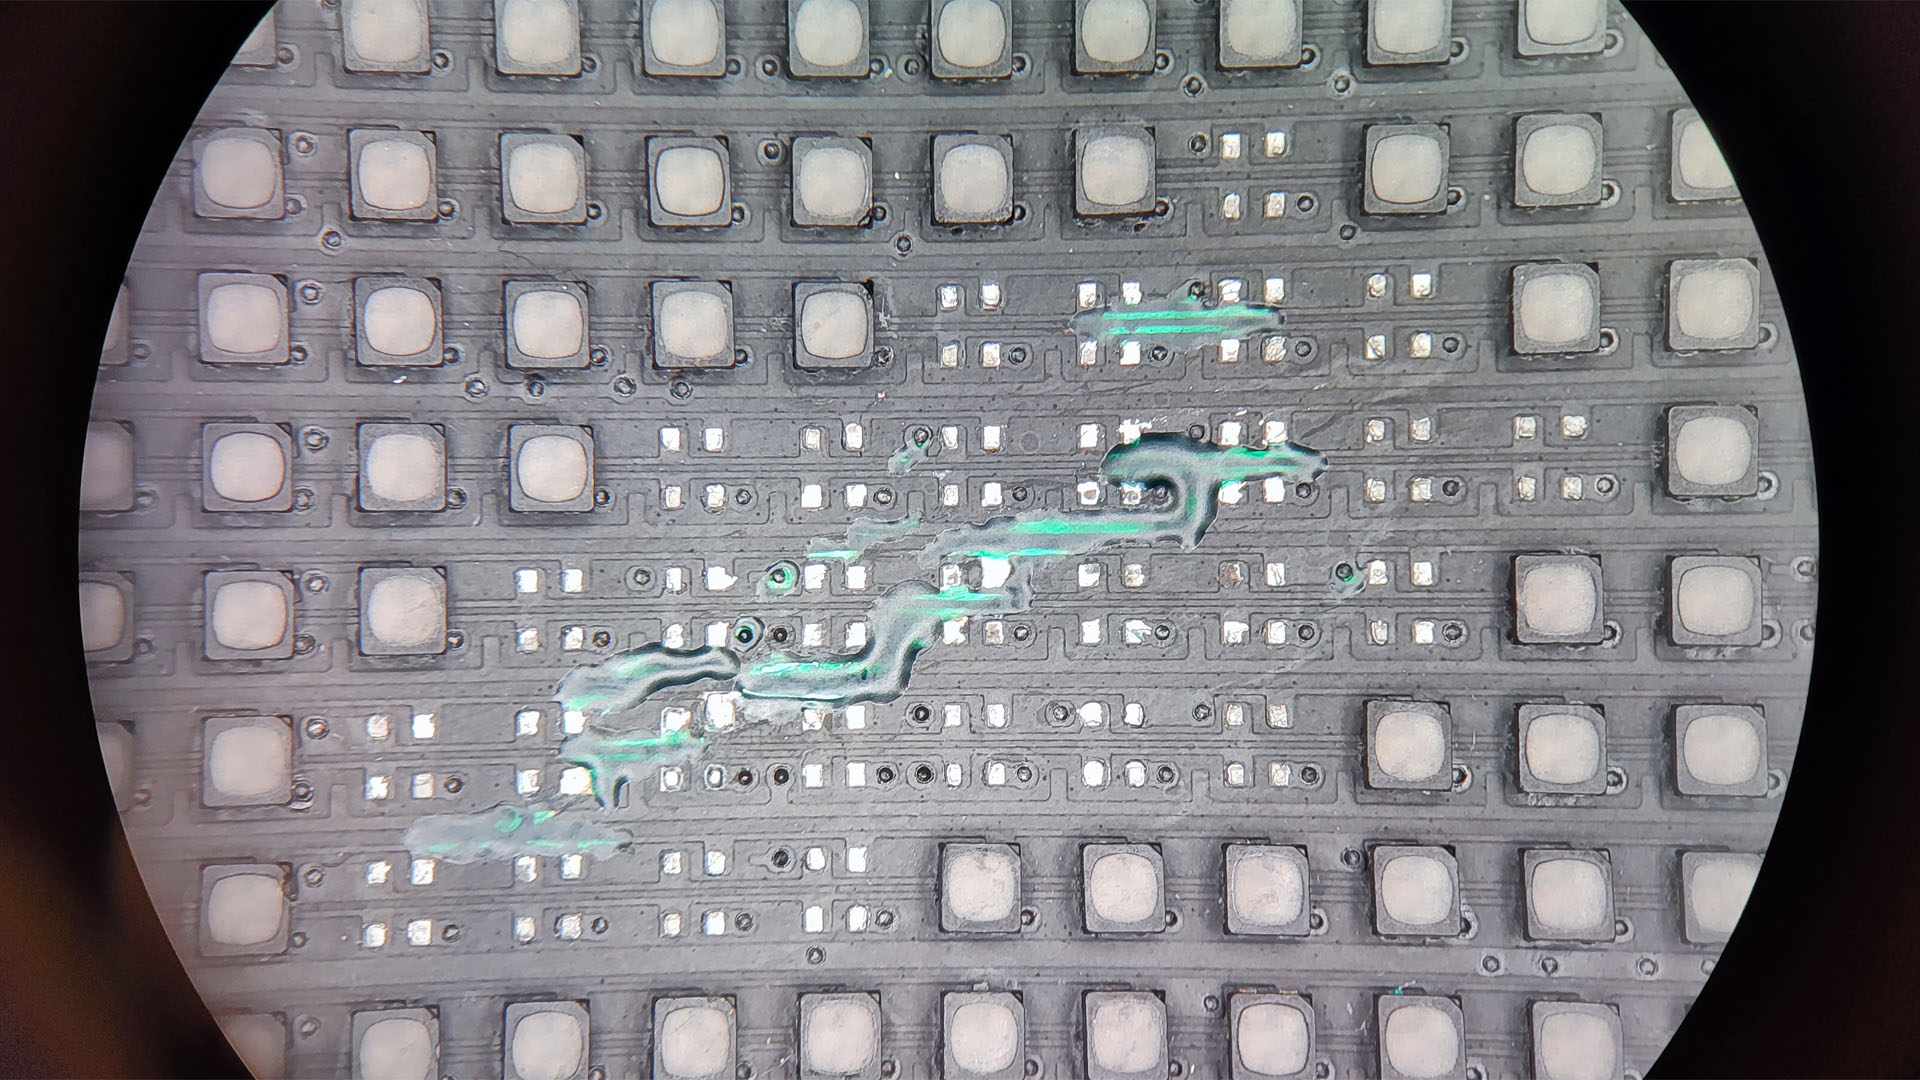
Under magnification, we began the detailed process of cleaning the damaged area. This revealed corrosion, broken solder points and torn off contacts. Carefully removing the debris and residues enabled us to assess the integrity and suitability of the base PCB for repair.
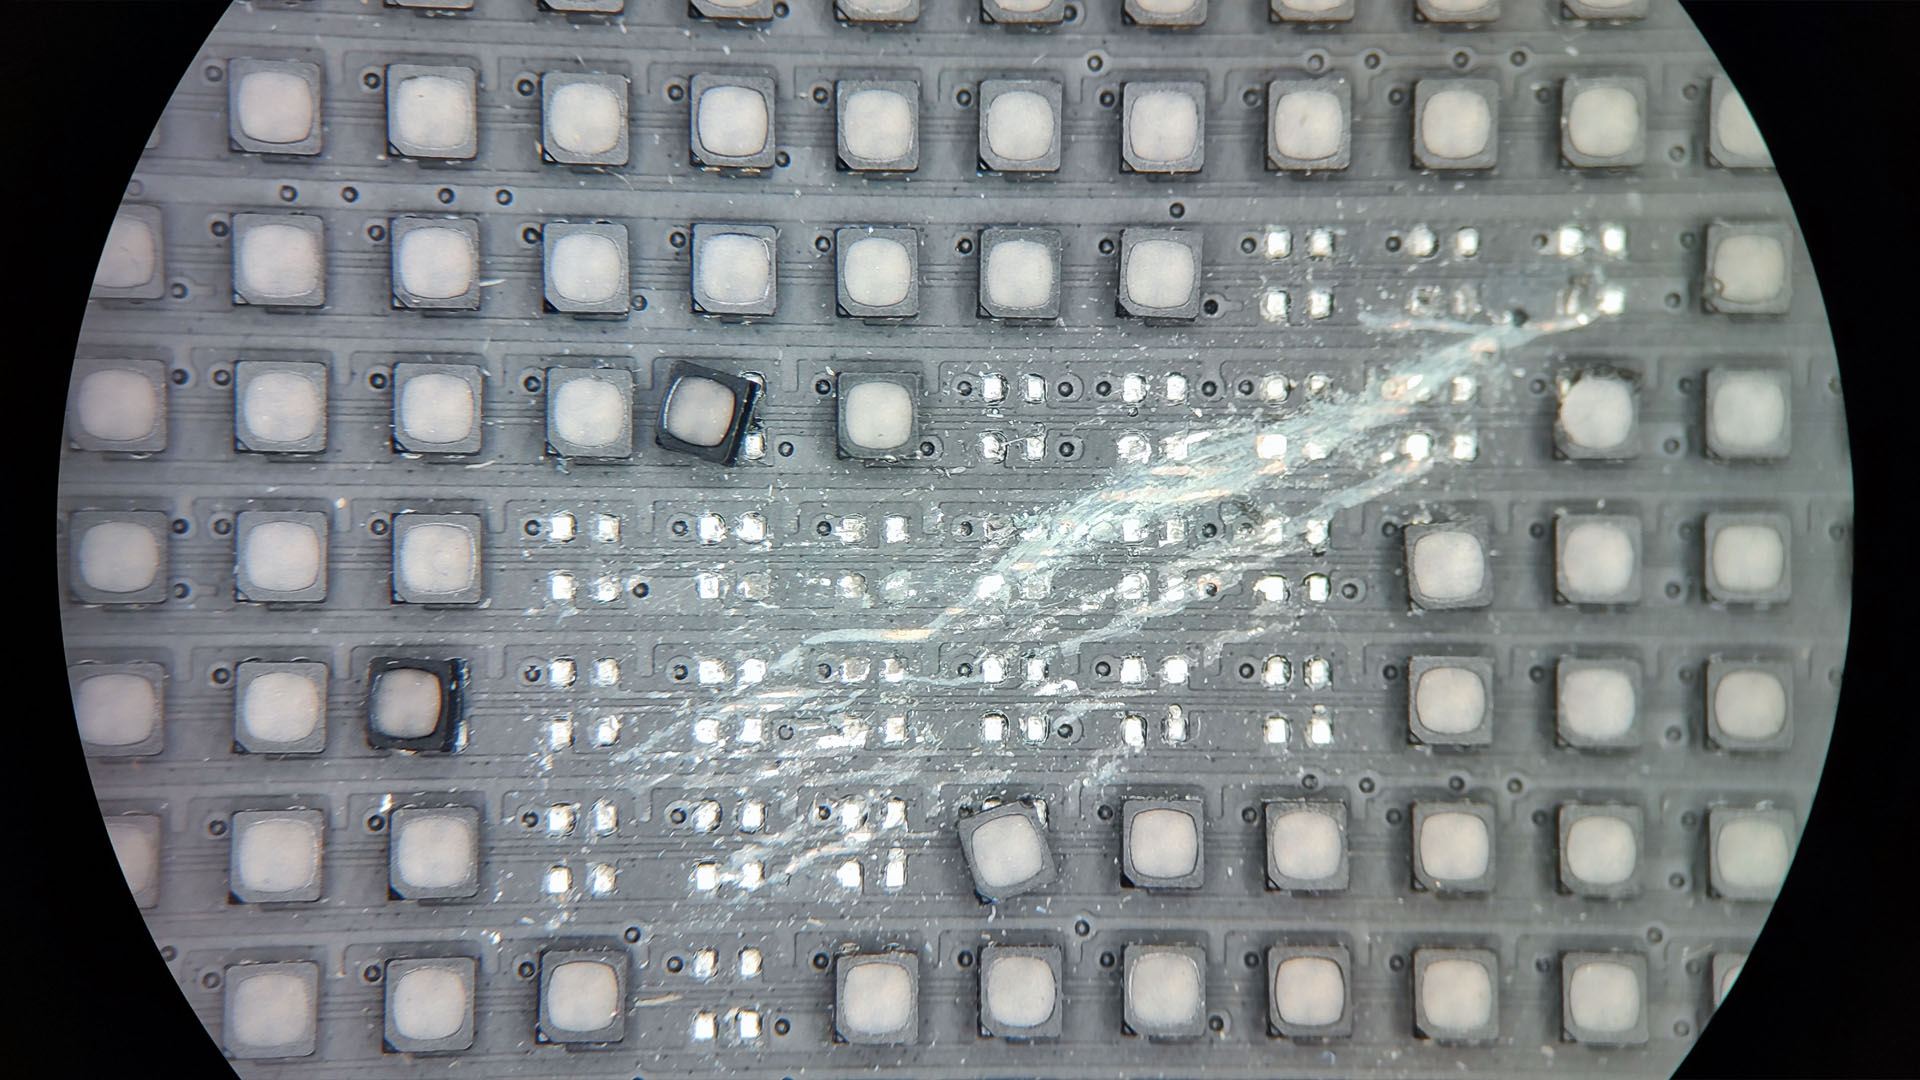
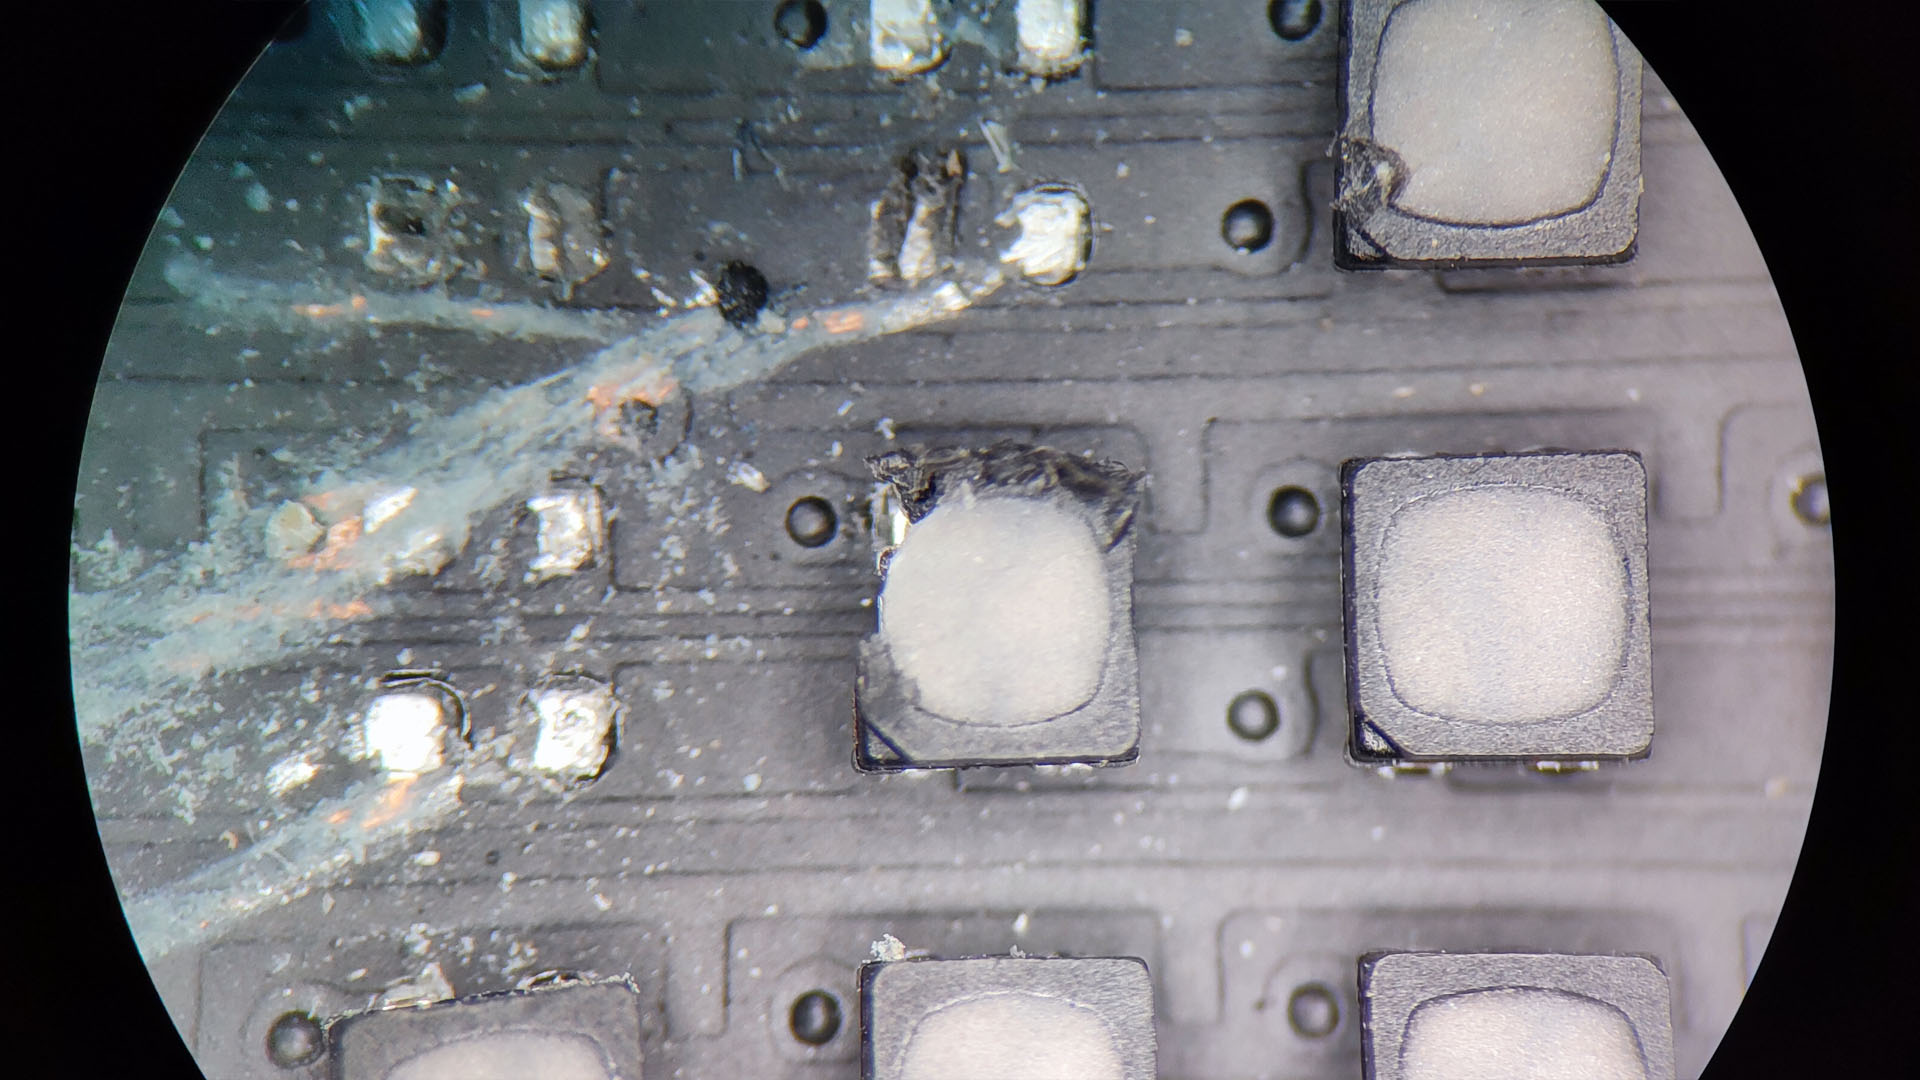
PCB surface exposed under micro-visual inspection - debris removed, contacts visible.
Stage 3: Repair
This stage required extreme precision. Using a wire with a diameter of 0.02 mm, we reconstructed the broken traces with the aid of a microscope. The objective was to restore full signal continuity between the diodes and their drivers without endangering the surrounding components. This kind of work demands technical skill obtained only through practical experience, steady hands and absolute focus.

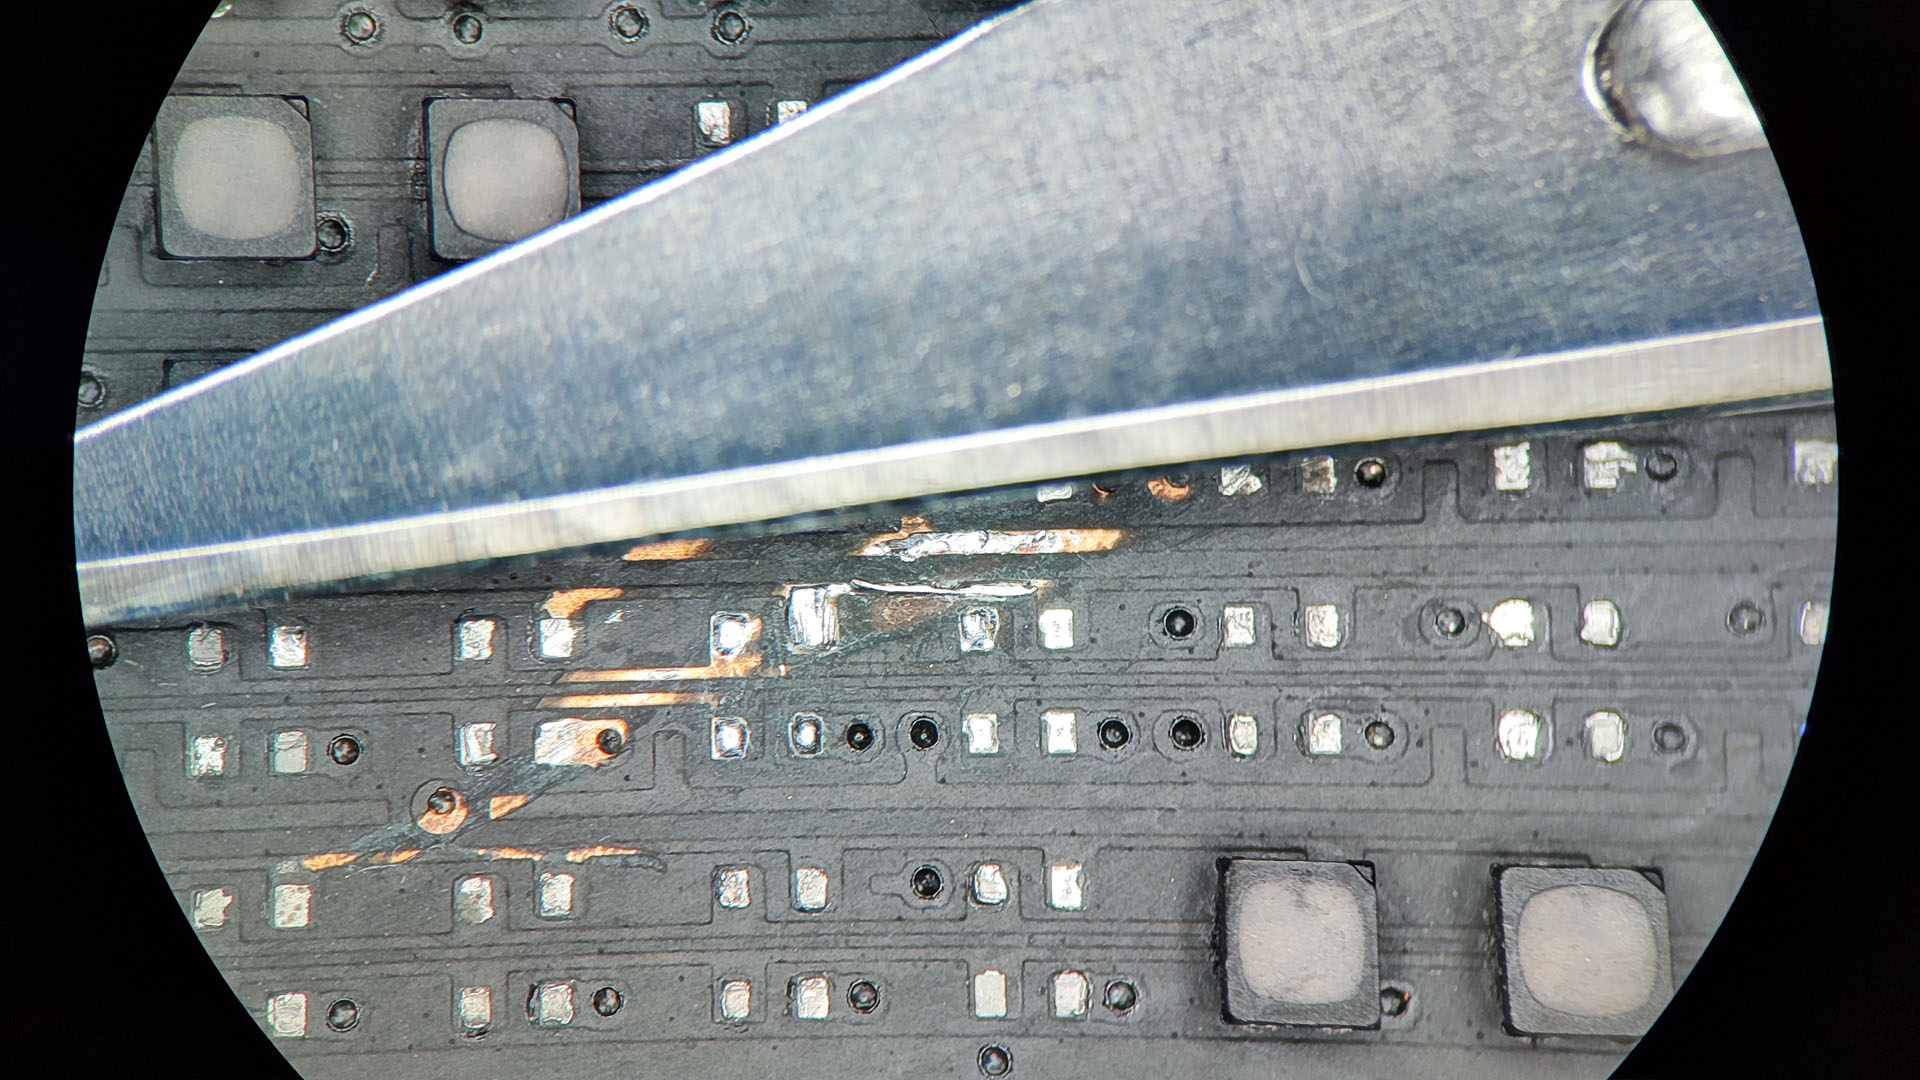
Reconstruction of signal paths with 0.02 mm wire under a microscope.
Stage 4: Repopulation
Once the circuit had been repaired, we proceeded to repopulate the module with new LED diodes. Matching the pitch, alignment and orientation was critical, especially for such a high-resolution display as P1.9. Original component replacements were used to maintain uniform brightness and colour calibration across the screen.

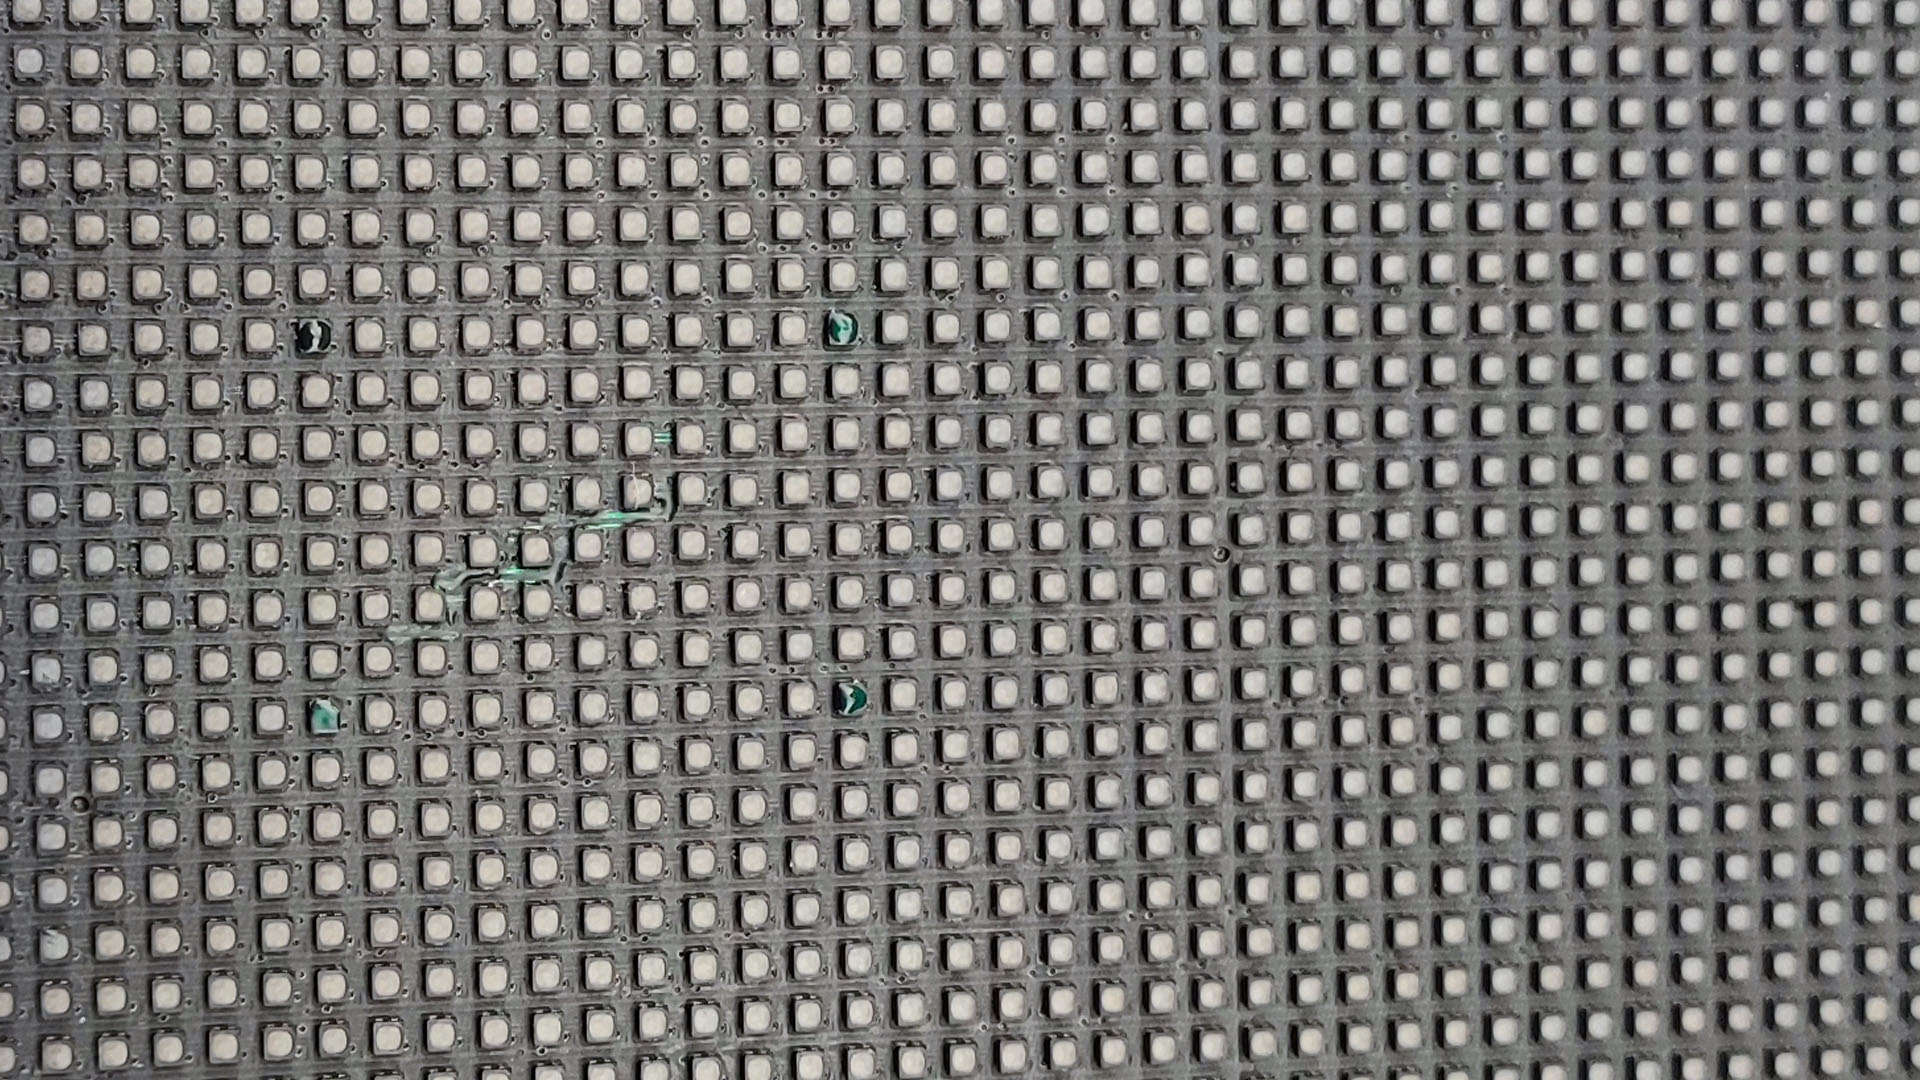
Placing new P1.9 LEDs - alignment and polarity checks in process.
Stage 5: Recalibration and final effect
The final step involved pixel mapping and recalibrating the module. Colour balance, brightness levels and refresh rate were carefully matched with neighbouring modules. The repaired screen now functions seamlessly and matches the rest of the installation visually – proof that professional repair can restore high-resolution LED panels to their original performance.
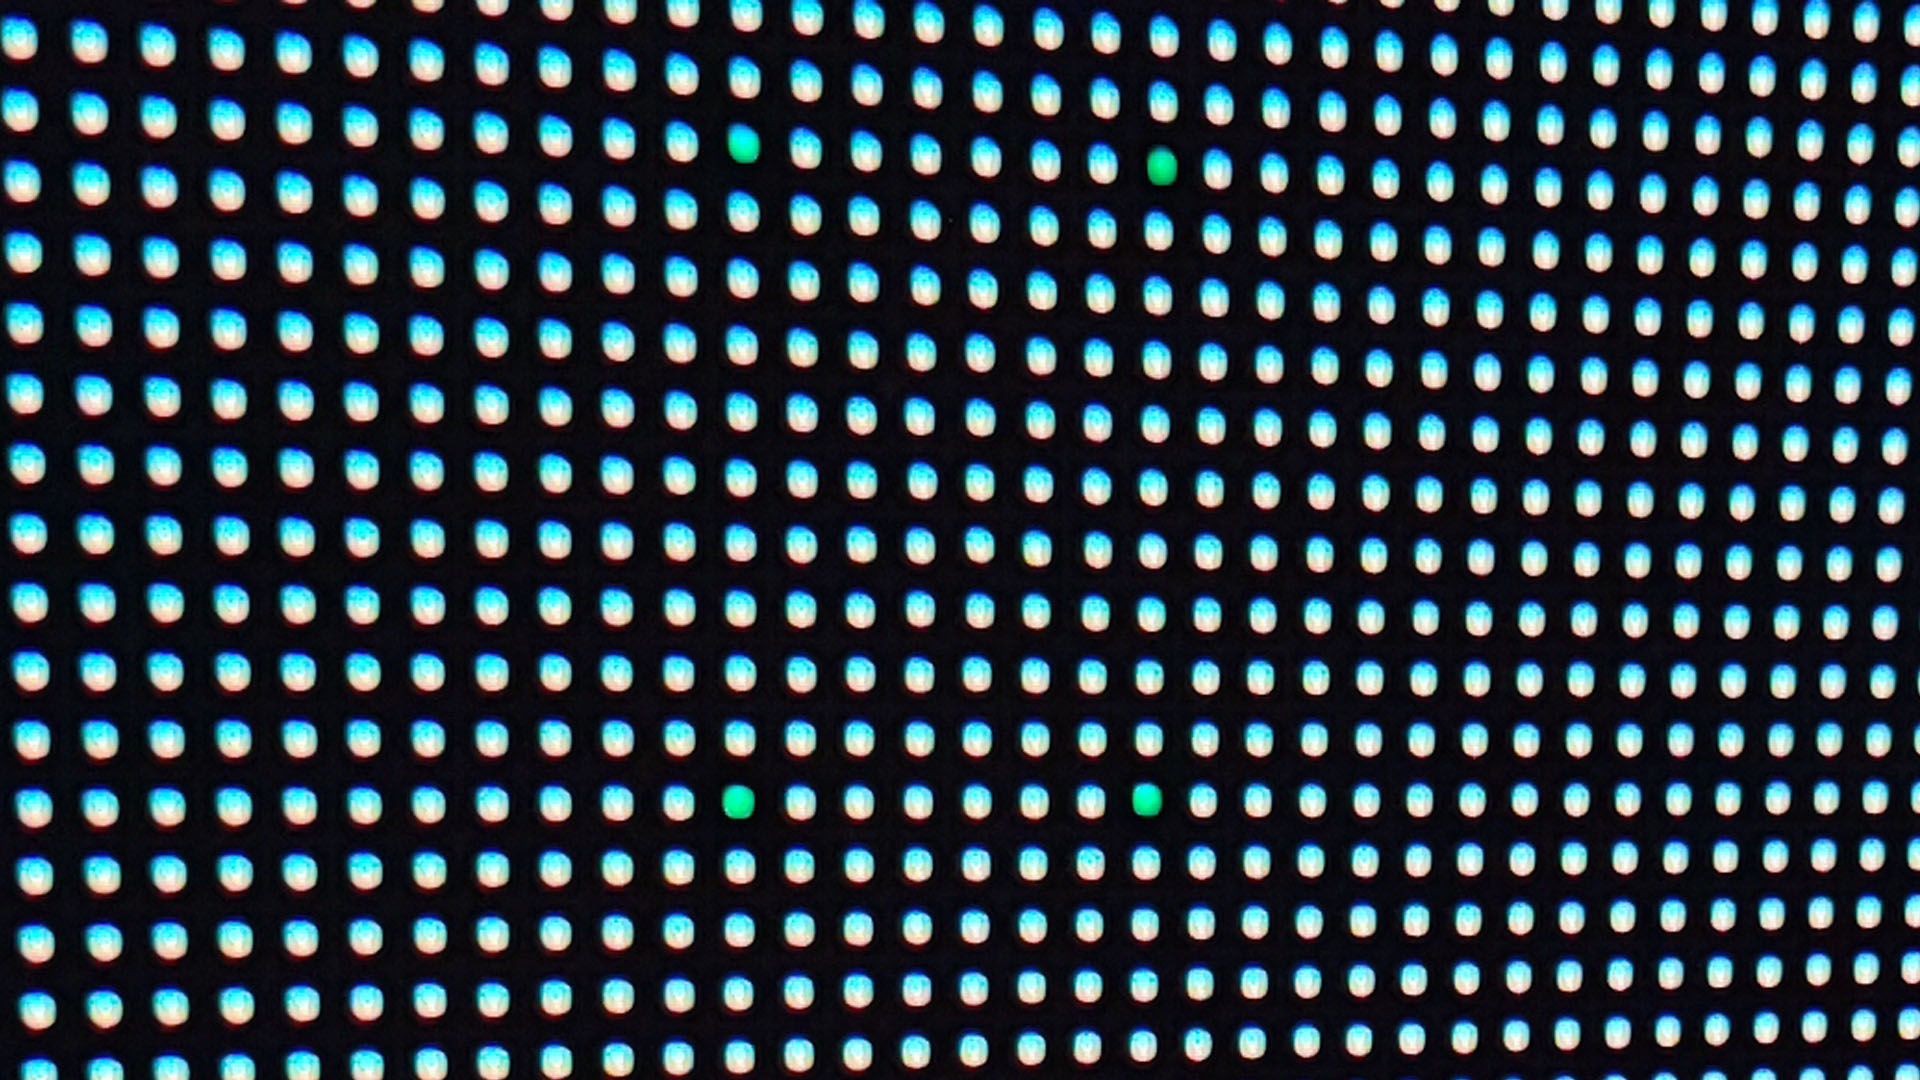
Fully restored module post-calibration - seamless integration with the display.
Why LED screen repair matters
Rather than replacing entire modules, professional LED screen repair reduces costs and electronic waste while keeping installations running smoothly with minimal downtime. Our experience of repairing LED screen panels proves that even intricate damage can be reversed with the right tools and expertise.
At Vera Multimedia, we have been servicing LED screens for years. Our dedicated repair division specialises in both on-site emergency services and in-house module restoration. We use only professional-grade tools, including precision soldering stations by Weller, Swiss made microvisual systems and optics by Kern, as well as certified components. Our service team is trained to deliver pixel-perfect results, whether it’s fine-pitch screens like P1 or larger-format modules.

Precision soldering with Weller equipment - essential for micro-repairs.
Above all, we pay close attention to detail at every stage of the process, from reconstructing microscopic connections to delivering the fully calibrated end result. No matter whether we’re dealing with a single damaged pixel or an entire LED cabinet, we ensure that every project is restored to the highest possible standard.
What sets us apart? We’re event-ready. From trade fairs and product launches to permanent installations, our team is always prepared to restore your display and ensure your show runs without interruption.